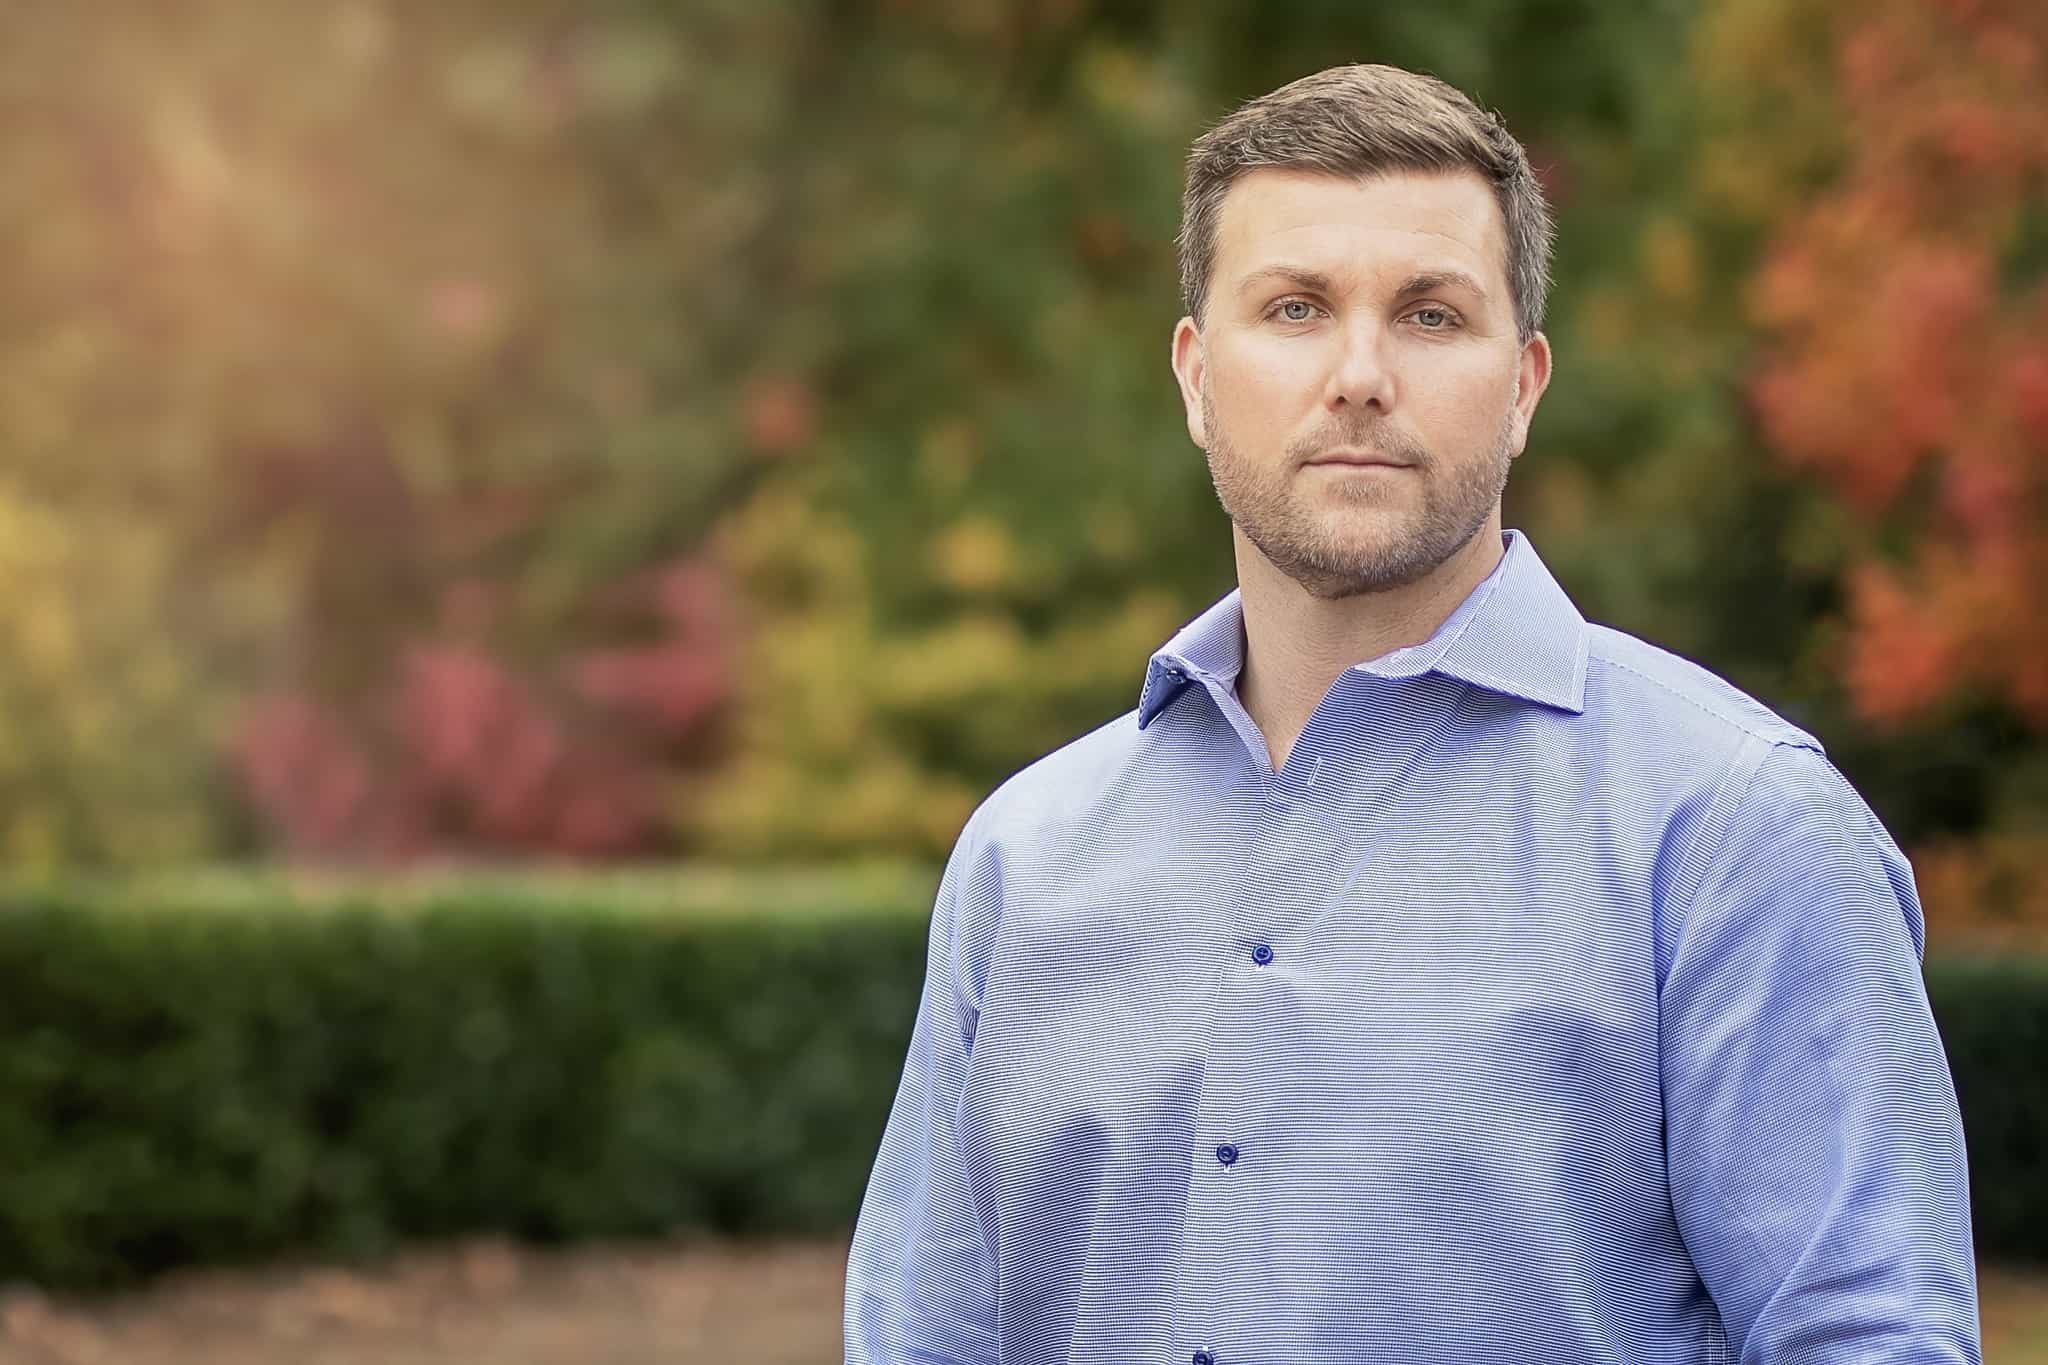
Since I got my start with photography a few years ago I have been reading, learning, watching videos, and practicing trying to improve my skills. I’ve also added better equipment and tools along the way. One thing that always amazes me is the artistry that goes into post-production photo editing, often referred to as the post-production workflow.
When I take photos I store them in something called RAW format. This contains the most digital information possible and preserves that for use in post production. One downside to RAW images is the color is often very dulled, even with color-savvy Canon cameras. But, since it’s saving all of that digital metadata, the photographer is able to refine that color, exposure, and a host of other things in post-production.
I have been a very conservative artist in my few years of photography. But, in the interest of continuous learning and working to deliver a more pleasing product, I went to work re-editing a recent portrait using a number of new tools and techniques to come up with the image you see above.
The Beginning: The RAW Image
This image is essentially straight out of the camera (SOOC). You’ll see it’s dull, flat, and not well composed. I did the wide composition intentionally, though, because I was thinking ahead that I would want to crop the image more like the final product and wanted the background to work with to do so.

Step 1: Correct Exposure and Set the Crop
This is a pretty simple step that fixes parts of the downside of storing in RAW. It typically will involve changes in exposure and what’s called “temperature” to help with the dull RAW color and adjusting the white balance for the environment if it wasn’t set in the camera. This is also the step where I decide the crop I’m going to use to set the dimensions and focal point of the image.

Step 2: Foundational Edits…Setting the Mood
Once I’ve established the dimensions and ratio I’m looking for, I apply a number of foundational edits to “set the mood” of the image. In this instance, the photo was taken in the Fall and I wanted to bring out the Fall feel in the background and produce a warm, pleasing image.

Step 3: Skin Tone
Retouching skin tone is a, well, touchy subject for me. It’s really easy to take it too far and end up with a plastic, airbrushed kind of look more suited to fashion magazines and super models. That said, even with a stud like Adam, I think there is always room to smooth out the subject’s skin. It’s subtle, if I do it right, and isn’t something you notice. But, you might notice if it’s not done (or not done well), and my goal is to present the best you I can through imagery.

Step 4: Environmental Edits
Next I spend some more time on the environment of the photo bringing out the look I want particularly in the background imagery and colors in the foreground.

Step 5: Saturation
One thing that tends to happen as I edit is colors get too vibrant, particularly the reds. A tip my dad (who is an experienced portrait photographer Mack Davis Photoworks) gave me is to ease back a bit on the saturation of the image to pull back the red overtones and to achieve a bit more color balance. It’s noticeable in this image particularly in the red and orange leaves in the background.

Step 6: Final Polish & Styling
Ordinarily I am done after step 5. But for fun and the post-production experience, I decided to try to produce a more “bright and airy” look to this version of the portrait, bringing out the pop of sunlight rays in the background to try to achieve this very popular style.

That’s it in a nutshell. Editing and post-production has certainly taught me about the creativity and artistry that can go into portrait photography. It’s certainly a lot more than “just taking nice pictures.”
What do you think of this post? How did I do with this image? Drop me a note or leave comments below to continue the conversation. Thanks for reading!
